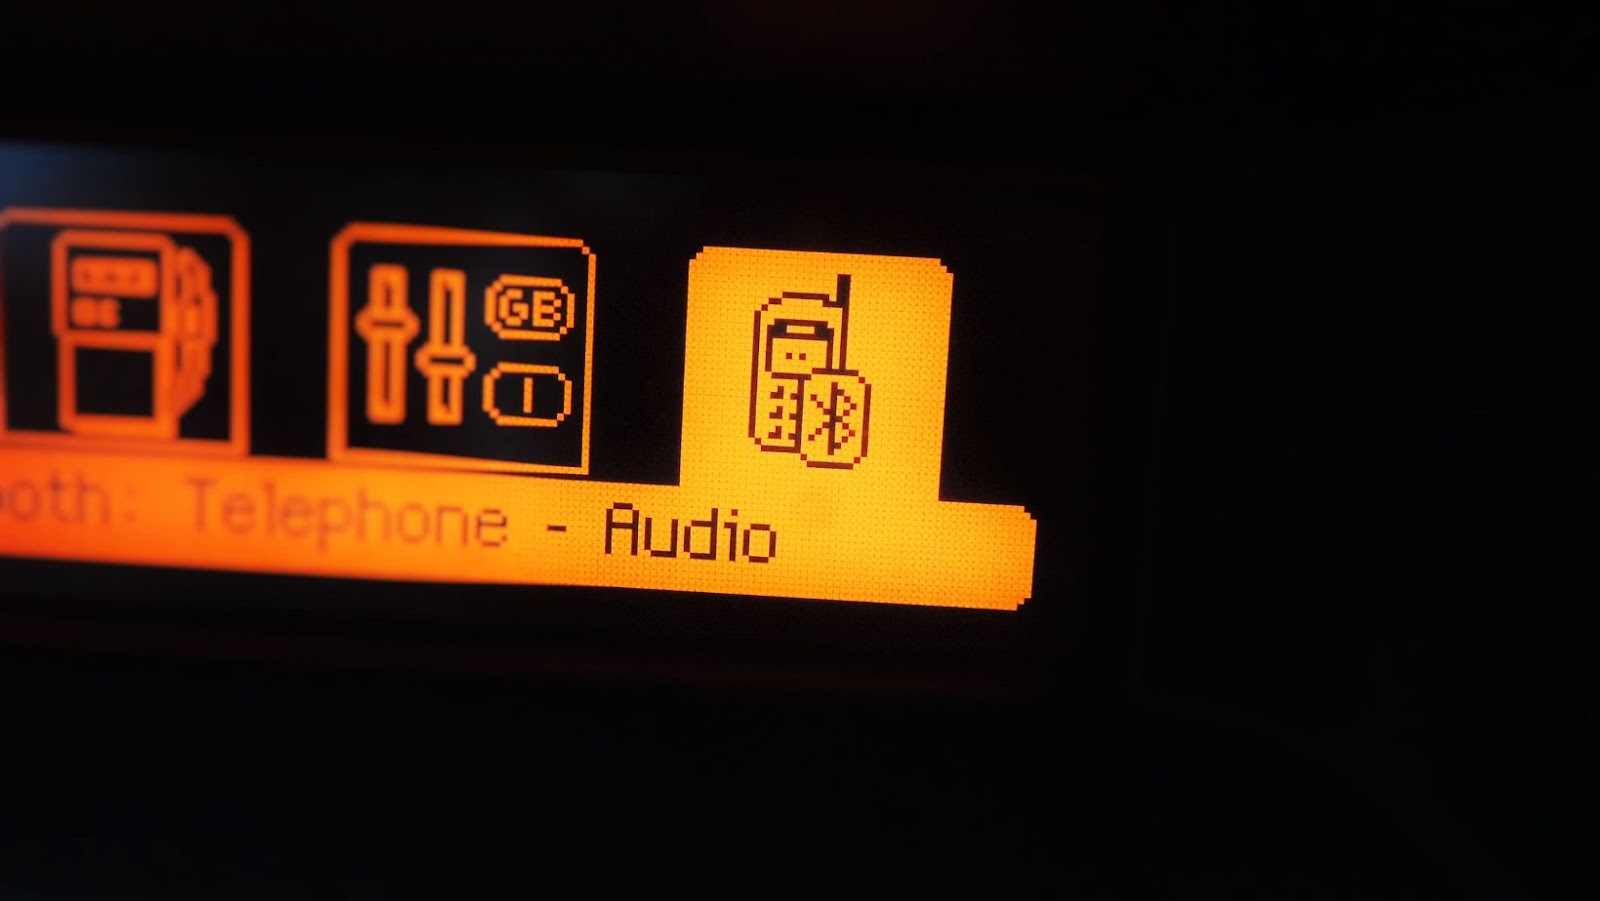
This project consists of a single activity that demonstrates the use of the Bluetooth API to connect to and communicate with other Bluetooth devices. The user interface for this activity is very simple: it consists of a TextView and two Buttons. The TextView is used to display the current connection status, and the Buttons are used to initiate or terminate a connection with another Bluetooth device.
BACKGROUND
When the activity starts, it checks to see if there are any paired Bluetooth devices. If there are, it displays them in a ListView. The user can then select a device from the list to connect to. Once a connection is established, the TextView is updated to reflect the new connection status.
If the user presses the “Send” Button, a string of text is sent to the connected device. The connected device can then respond by sending back its own string of text. This exchange of text strings is displayed in the TextView. Finally, if the user presses the “Disconnect” Button, the connection is terminated and the TextView is updated to reflect the change in status.
This project makes use of the following:
- The Android Bluetooth API
- The Android Log class for debugging purposes
- Bluetooth permissions (BLUETOOTH and BLUETOOTH_ADMIN)
How to use ihome speaker
The Android manifest file
1. Setting Up the Project
Create a new project in Android Studio and call it “BluetoothChat”. You can use the default settings for the rest of the fields.
Next, open the project’s manifest file and add the following two permissions:
BLUETOOTH: This permission is required in order to use the Bluetooth API.
BLUETOOTH_ADMIN: This permission is required in order to perform certain Bluetooth-related tasks, such as initiating a connection.
Your manifest file should now look something like this:
<?xml version=”1.0″ encoding=”utf-8″?>
<manifest xmlns:android=”http://schemas.android.com/apk/res/android”
package=”com.example.android.bluetoothchat”>
<uses-permission android:name=”android.permission.BLUETOOTH”/>
<uses-permission android:name=”android.permission.BLUETOOTH_ADMIN”/>
<application
android:allowBackup=”true”
android:icon=”@mipmap/ic_launcher”
android:label=”@string/app_name”
android:supportsRtl=”true”
android:theme=”@style/AppTheme”>
<activity android:name=”.MainActivity”>
<intent-filter>
<action android:name=”android.intent.action.MAIN”/>
<category android:name=”android.intent.category.LAUNCHER”/>
</intent-filter>
</activity>
</application>
</manifest>
2. Creating the Layout
Now that the project is set up, you can start working on the activity’s layout. This layout will consist of a TextView, a ListView, and two Buttons.
The TextView will be used to display the current connection status. The ListView will be used to display a list of available Bluetooth devices. The user will be able to select a device from this list in order to establish a connection. Finally, the Buttons will be used to initiate or terminate a connection.
Open the activity’s layout file and add the following code:
<?xml version=”1.0″ encoding=”utf-8″?>
<LinearLayout xmlns:android=”http://schemas.android.com/apk/res/android”
android:layout_width=”match_parent”
android:layout_height=”match_parent”
android:orientation=”vertical”>
<TextView
android:id=”@+id/textView”
android:layout_width=”wrap_content”
android:layout_height=”wrap_content”/>
<ListView
android:id=”@+id/listView”
android:layout_width=”match_parent”
android:layout_height=”wrap_content”/>
<LinearLayout
android:layout_width=”match_parent”
android:layout_height=”wrap_content”
android:orientation=”horizontal”>
<Button
android:id=”@+id/button1″
android:layout_width=”wrap_content”
android:layout_height=”wrap_content”
android:text=”Button”/>


More Stories
Windows VPS vs Linux VPS: Which One Should You Choose?
How to Track Your Fitness Goals as a Student: 5 Essential Apps
What Kind of Programmers Do Companies Want to Hire in 2025