

Adobe Premiere Pro is a great tool for video editing and creating content. It boasts a comprehensive suite of features that cater to both new editors and experienced editors. Whether you’re crafting professional projects or personal endeavors, Premiere Pro offers the software and guidance to help you bring your vision to life. In this article, we delve into the fundamentals of using Premiere Pro for video editing, from importing media to applying advanced effects. We will also explore the invaluable resources available, such as Premiere Pro templates, which can guide you in your editing process and enhance the quality of your video content.
Getting Started with Premiere Pro
Installation and Setup
To start your video editing journey with Premiere Pro, begin by installing the software from the Adobe website or via Adobe Creative Cloud. This does come at a cost but the outcome outweighs this in the longer term. Follow the installation instructions provided to configure Premiere Pro on your laptop or device, and you’re good to go.
Familiarizing Yourself with the Interface
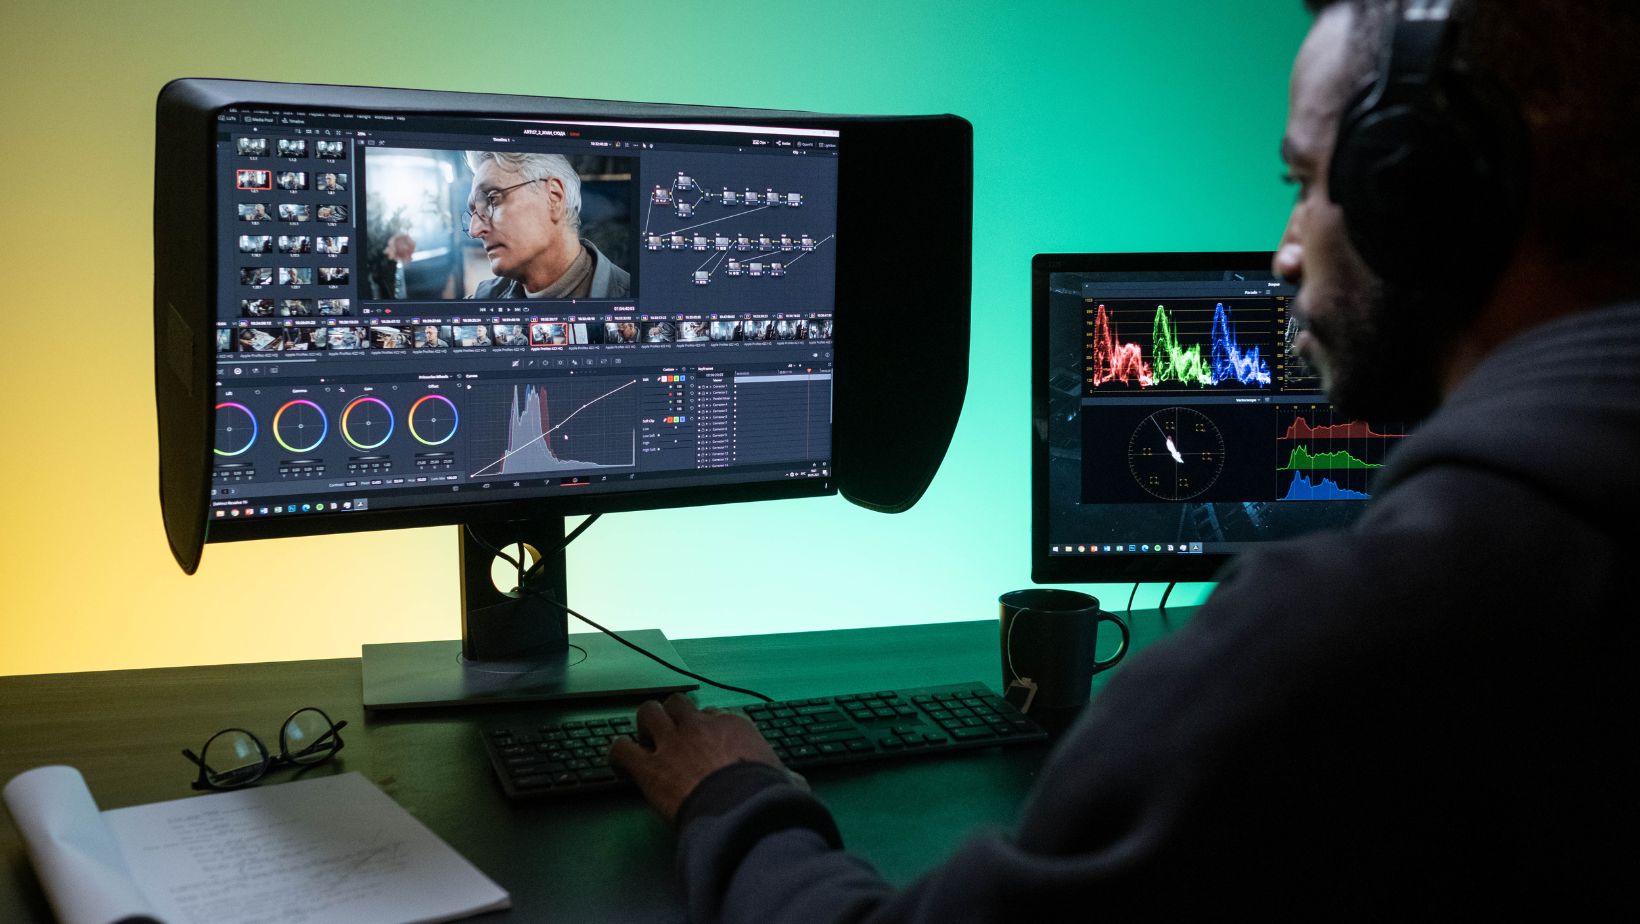
After installing Premiere Pro, there are some great tips to read so that you can get started learning its user interface, which comprises various panels such as Project, Source Monitor, Program Monitor, Timeline, and Effects Controls. Each panel serves a distinct purpose in the editing process.
Editing Techniques
Importing Media
When starting a new project, import your media assets including videos, audio files, and images into the Project panel. You can accomplish this by selecting “File” > “Import” or simply dragging files directly into the Project panel interface.
Creating and Editing Sequences
Sequences serve as the canvas upon which you arrange and put together your video clips. Generate a new sequence by right-clicking on a video clip within the Project panel and selecting “New Sequence from Clip.

” This action automatically configures the sequence settings to match those of your video clip, ensuring optimal compatibility.
Timeline Editing
The Timeline panel is helpful for arranging and manipulating your clips, employing tools such as the razor tool (shortcut: Ctrl C) to make precise cuts and the selection tool (shortcut: Ctrl V) to move and trim clips as desired. The Timeline serves as the central workspace where you craft the structure and pace of your video.
Enhancing with Transitions and Effects
Premiere Pro has an extensive mix of transitions and effects to enhance your video visuals and the narrative flow of your videos. You can access these assets through the Effects panel and then drag and drop them onto your clips within the Timeline to add them to your video.
Audio Refinement
In addition to video editing capabilities, Premiere Pro enables you to refine and edit audio and music within your projects. Monitor audio levels using the meters in the Timeline panel, adjust volume levels, apply audio effects, and fine-tune parameters via the Effects Controls panel to achieve optimal sound quality.
Leveraging Advanced Features
Color Correction and Grading
You can elevate the visual aesthetics of your videos with Premiere Pro’s robust color correction and grading tools. The Lumetri Color panel empowers you to adjust things such as exposure, contrast, saturation, and color balance, allowing for precise control over the overall look and feel of your video.
Motion Graphics and Titles
As content marketing, Google algorithms, and voice activation have advanced, captivating motion graphics and professional-grade titles directly within Premiere Pro are imperative. Premier Pro gives you access to pre-designed templates and the ability to create custom graphics using the Essential Graphics panel, which gives individuals the ability to integrate dynamic visual elements into their projects.
Exporting Your Final Video
Once your editing process is complete, it’s time to export your video. Through “File” > “Export” > “Media” to access the Export Settings window, you can customize output parameters such as format, codec, resolution, etc. Once you’ve finalized all the right settings, you can generate your finished video.
4 Pro Tips for Mastering Premiere Pro
- Keyboard Shortcuts: Familiarize yourself with essential keyboard shortcuts for editing workflow and increased efficiency.
- Regular Saving: Safeguard against potential data loss, save your project frequently.
- Project Organization: Maintain a structured approach to project organization by utilizing bins to categorize and manage media assets effectively.
- Optimizing Performance: Adjust playback resolution and use proxy files to optimize performance, particularly when working with high-resolution footage or resource-intensive effects.
Adobe Premiere Pro gives creators the tools and features to video edit effectively and works to give them the skill levels for their project requirements. By following the guidelines outlined in this article, you can harness the full potential of Premiere Pro to craft compelling and polished video content. Don’t hesitate to explore resources such as Premiere Pro templates to streamline your editing process and unlock new creative possibilities. Embrace the versatility of Premiere Pro and embark on your journey to amazing video editing today.
More Stories
How Technology Enhances Asset Management Efficiency
AI Tools To Elevate Your Social Media Strategy in 2024
Streamlined Data Retrieval